


What’s the optimal routine to eliminate razor burn for a confident, performance-ready shave?

Conquering Razor Burn: Your Blueprint for a Flawless Shave
Razor burn, that irritating red rash and stinging sensation, is the bane of many who shave. It can turn a routine act of grooming into a painful ordeal, undermining confidence and affecting skin health. But achieving a smooth, irritation-free shave isn’t a myth; it’s the result of a thoughtful, consistent routine. By understanding the science behind razor burn and implementing a strategic approach, you can transform your shaving experience from dreaded to delightful.
Phase 1: Pre-Shave Preparation – The Foundation of a Smooth Shave
Preparation is paramount. Rushing into a shave without proper groundwork is an open invitation for razor burn. This phase focuses on softening the hair and preparing your skin for the blade.
1. Hydrate and Cleanse:
- Warm Shower or Hot Towel: The best time to shave is after a warm shower. The steam and warm water open pores and soften hair, making it easier to cut. If a shower isn’t possible, apply a hot, damp towel to your face for a few minutes.
- Gentle Cleanser: Wash your face with a mild facial cleanser to remove dirt, oil, and dead skin cells. This prevents bacteria from entering freshly shaved pores and allows for a closer shave.
2. Exfoliate (Optional, but Recommended):
- Light Scrub: Once or twice a week, use a gentle facial scrub to remove dead skin cells that can trap hairs and lead to ingrown hairs, a common cause of razor burn. Avoid harsh scrubbing right before a shave if your skin is sensitive.
3. Pre-Shave Oil:
- Lubrication and Protection: Apply a few drops of pre-shave oil. This creates a protective barrier between your skin and the blade, reducing friction and further softening the hair.

Phase 2: Shaving Technique – The Art of the Blade
The way you handle your razor and the quality of your tools are critical in preventing irritation.
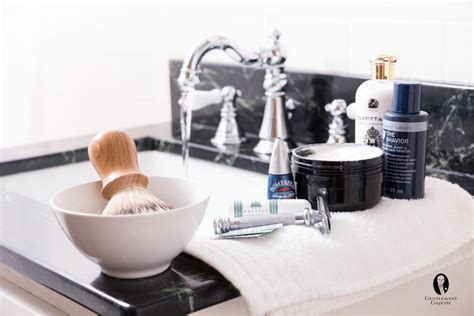
1. Choose the Right Tools:
- Sharp Blade: A dull blade is the enemy of a smooth shave. It drags, pulls, and causes micro-tears in the skin. Change your razor blade or disposable razor every 5-7 shaves, or sooner if you feel any tugging.
- Quality Shaving Cream/Gel: Opt for a rich, hydrating shaving cream or gel that creates a thick lather. Avoid aerosol foams with harsh chemicals that can dry out your skin. Apply generously and let it sit for a minute to further soften whiskers.
2. Master Your Technique:
- Shave with the Grain: For the first pass, always shave in the direction of hair growth. This is the most crucial step for preventing razor burn and ingrown hairs.
- Light Pressure: Let the razor do the work. Pressing too hard pulls at the skin and increases irritation.
- Short, Controlled Strokes: Use short, deliberate strokes, rinsing the razor frequently under warm water to clear away hair and shaving cream.
- Minimal Passes: Try to achieve your desired closeness with as few passes as possible. If a second pass is needed, reapply shaving cream and shave across the grain, or very gently against the grain if your skin can tolerate it and you desire a super close shave.
Phase 3: Post-Shave Care – Soothe and Protect
After the shave, your skin needs immediate attention to calm, hydrate, and protect it from irritation.
1. Rinse with Cold Water:
- Close Pores: After rinsing off all shaving cream with warm water, splash your face with cold water. This helps to close pores and tighten the skin, reducing redness and swelling.
2. Pat, Don’t Rub:
- Gentle Drying: Gently pat your face dry with a clean, soft towel. Rubbing can irritate freshly shaven skin.
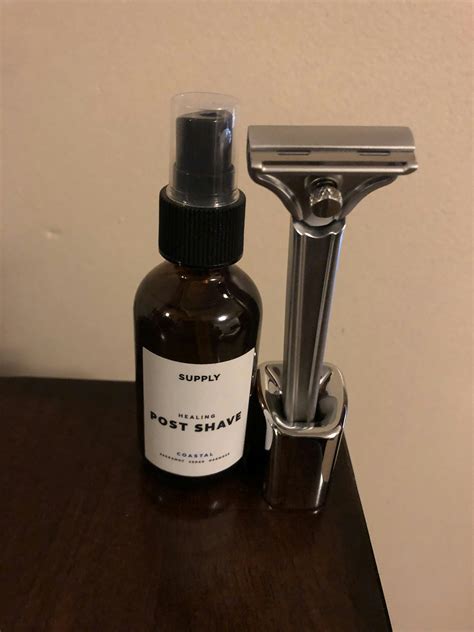
3. Apply Aftershave Balm:
- Alcohol-Free: Skip aftershaves with high alcohol content, which can dry out and sting your skin. Opt for a soothing, alcohol-free aftershave balm or lotion containing ingredients like aloe vera, witch hazel, or chamomile to calm and hydrate.
- Moisturize: If your skin is particularly dry or sensitive, follow up with a gentle, non-comedogenic facial moisturizer.
![How to Clean a Safety Razor in 2025 [Simple Steps]](/images/aHR0cHM6Ly90czMubW0uYmluZy5uZXQvdGg/aWQ9T0lQLlg1TENsUmZPWVRBb1oxMndVb2JoeUFIYUhZJnBpZD0xNS4x.webp)
Ongoing Maintenance & Troubleshooting
- Keep Blades Clean: Rinse your razor thoroughly after each use and allow it to air dry to prevent bacterial growth.
- Regular Exfoliation: Continue a gentle exfoliation routine a few times a week to prevent ingrown hairs.
- Listen to Your Skin: If you consistently experience razor burn in a particular area, analyze your technique in that spot. You might be applying too much pressure or shaving against the grain unconsciously.
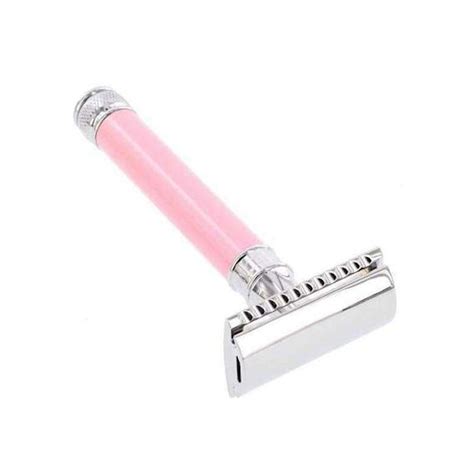
- Consider Different Razors: If multi-blade razors cause issues, try a single-blade safety razor, which some find less irritating.

Conclusion
Eliminating razor burn isn’t about finding a magic bullet; it’s about consistency and attention to detail across your entire shaving routine. By committing to proper preparation, refining your technique, and providing thoughtful aftercare, you’ll not only banish razor burn but also enjoy a consistently comfortable, confident, and performance-ready shave every single time. Your skin will thank you.