


Best pre-shave strategy for zero irritation and a close, lasting shave?

Mastering the Art of Pre-Shave for Ultimate Comfort and Closeness
The secret to a truly exceptional shave—one that leaves your skin silky smooth, free from redness, and feeling comfortable all day—doesn’t lie solely in your razor or shaving cream. It begins much earlier, with a strategic pre-shave ritual designed to prepare your skin and whiskers for the blade. Skipping this crucial step is like trying to cut through a tough log with a dull saw; it’s inefficient, damaging, and ultimately unsatisfactory. A well-executed pre-shave routine softens the beard, protects the skin, and creates an optimal canvas for your razor, leading to an incredibly close shave with zero irritation.
Step 1: Cleanse and Gently Exfoliate Your Canvas
Before any product touches your face, ensure your skin is clean. Start with a splash of warm water, or ideally, shave after a warm shower. The steam and heat open pores and begin softening your facial hair. Follow this with a mild facial cleanser to remove dirt, oil, and dead skin cells that can clog pores and dull your blade. For an even better prep, consider a gentle facial scrub 2-3 times a week. Exfoliation helps lift hairs away from the skin, preventing ingrown hairs and allowing for a more direct cut at the base.
The Power of Warmth: Hydrating and Softening
Heat is your best friend in pre-shave preparation. It helps relax the skin and, more importantly, makes your whiskers pliable. The simplest method is to shave directly after a hot shower. Alternatively, you can replicate this effect by soaking a clean towel in hot water, wringing it out, and applying it to your face for a few minutes. This hot towel method deeply hydrates the beard, making it much easier for the razor to glide through.

Step 2: Deploying Your Pre-Shave Arsenal
Once your skin is clean and warm, it’s time for specialized pre-shave products. These are designed to add an extra layer of protection and lubrication, reducing friction and improving blade glide.
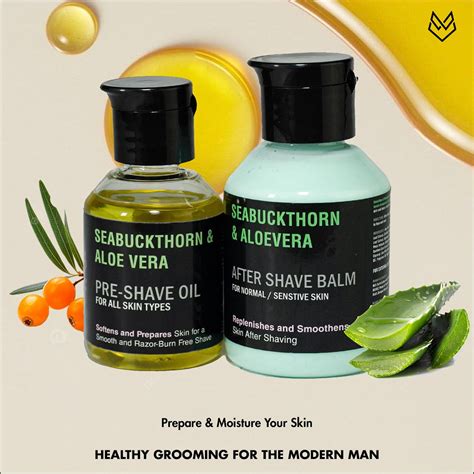
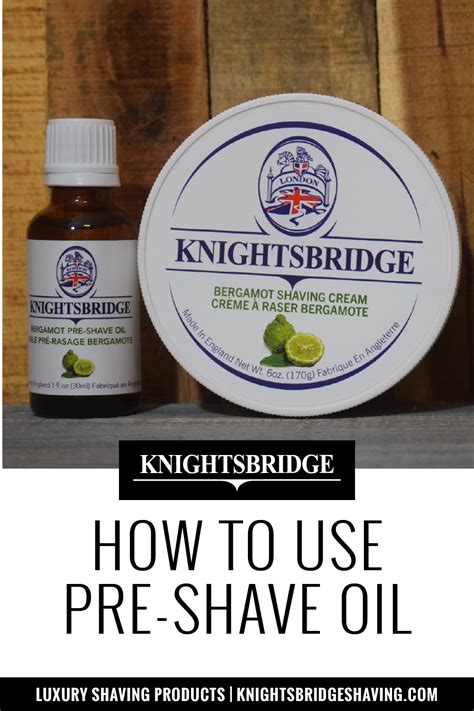
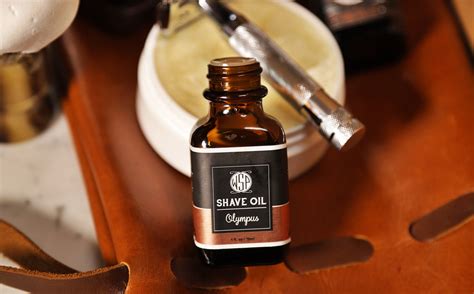
Pre-Shave Oil: The Protective Barrier
A good pre-shave oil creates a slick, invisible barrier between your skin and the razor. It helps the blade glide effortlessly, minimizing nicks, cuts, and razor burn. Look for oils with natural ingredients like castor oil, olive oil, or essential oils that are non-comedogenic. Apply a few drops to your damp face and massage it thoroughly into your beard, ensuring every hair is coated. Allow it a minute or two to fully absorb and work its magic.
Pre-Shave Cream or Balm: Extra Softening and Glide
Some shavers prefer a pre-shave cream or balm, which often offers additional moisturizing and softening properties. These products are typically richer than oils and can provide a more substantial cushion. Like oil, massage a small amount into your beard and allow it time to penetrate. You can use these in conjunction with pre-shave oil (oil first, then cream) or as an alternative, depending on your skin type and preference.
Step 3: Lather Up (and Wait!)
After applying your pre-shave product, it’s time for your main shaving cream, soap, or gel. Build a rich, thick lather and apply it evenly over your beard. Crucially, don’t rush into shaving immediately. Let the lather sit on your face for at least 1-2 minutes. This additional time allows the shaving cream’s ingredients to further soften the whiskers and plump them with moisture, making them stand up straighter and become easier to cut.
Conclusion: The Payoff of a Diligent Pre-Shave
A meticulous pre-shave routine is not an indulgence; it’s an investment in your skin’s health and the quality of your shave. By cleansing, warming, and protecting your skin and beard, you set the stage for a remarkably close shave that lasts longer, feels incredibly smooth, and is completely free from the dreaded irritation. Embrace these steps, and transform your daily shave from a chore into a luxurious ritual.