


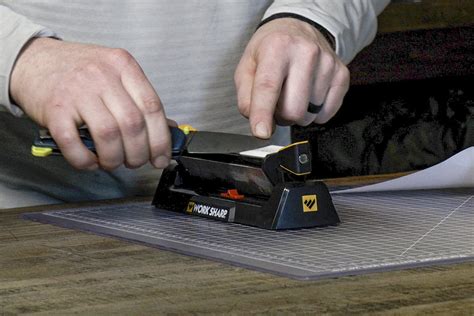
Sharpening a dull outdoor knife for field use?
The Critical Edge: Why a Sharp Knife Matters Outdoors
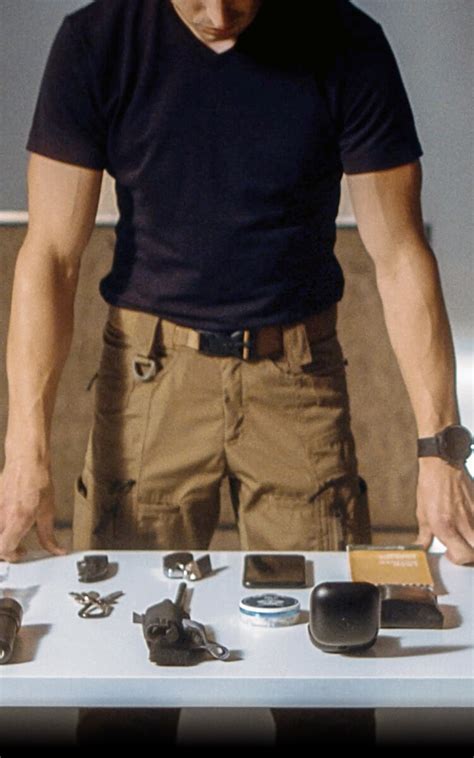
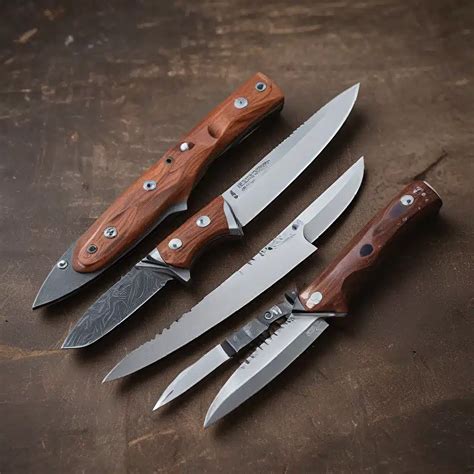
For anyone venturing into the great outdoors, an outdoor knife is an indispensable tool. It’s used for everything from preparing food and cutting cordage to splitting kindling and even emergency first aid. However, even the best knives will eventually dull with regular use, especially in rugged environments. A dull knife isn’t just inefficient; it’s dangerous. It requires more force to cut, increasing the risk of slips and serious injury. Learning how to effectively sharpen your knife in the field is a fundamental skill that can ensure your safety and success.
Understanding Your Knife’s Edge and Sharpening Basics
Before you can sharpen a knife, it’s important to understand its edge geometry. Most outdoor knives feature a V-shaped edge, though variations like convex or chisel grinds exist. The goal of sharpening is to remove worn metal from both sides of the blade until the two planes meet at a precise, acute angle, forming a new, sharp apex. Maintaining a consistent angle throughout the sharpening process is the most crucial factor for achieving a truly sharp edge.
When in the field, you might not have access to a full sharpening kit, so knowing what to carry and how to improvise is key.
Essential Field Sharpening Tools
Packing light is paramount, but a small, effective sharpening tool is worth its weight. Here are some excellent options:
- Small Sharpening Stone: A dual-grit stone (coarse/fine) is versatile. Opt for synthetic stones that don’t require water if possible, or carry a small squeeze bottle.
- Ceramic Rod or Stick: Excellent for refining an edge or giving a quick touch-up. They are lightweight and often come with a protective sheath.
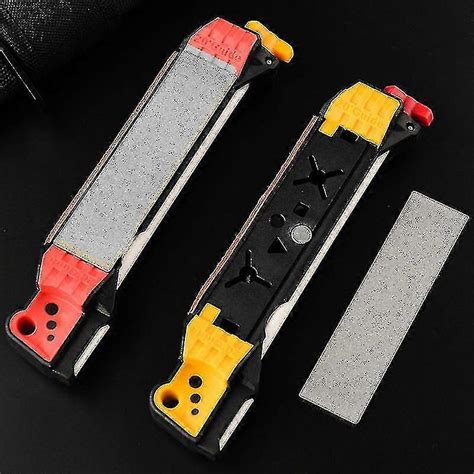
- Diamond Sharpeners: Highly effective and durable, diamond sharpeners (often in a credit card or rod format) can sharpen any steel, including super hard alloys, and require no lubrication.
- Pull-Through Sharpeners: While convenient, these can remove a lot of material and are generally less precise. Use them sparingly for emergency touch-ups if you lack other options.
- Stropping Compound & Leather: For the truly dedicated, a small piece of leather with some stropping compound can take an edge from sharp to razor-sharp.
Step-by-Step Field Sharpening Techniques
1. Assess the Damage
Before you begin, inspect the blade for nicks, rolls, or significant dullness. This will determine which grit you start with.
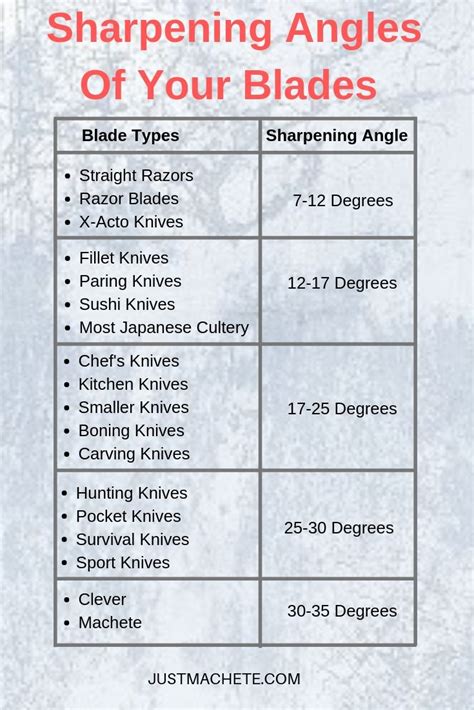
2. Establish the Angle
Most outdoor knives have an edge angle between 20-25 degrees per side. Visualize this angle. Consistency is more important than absolute precision in the field. Imagine a matchbook thickness under the spine of the blade for a common 20-degree angle, or use a finger as a guide for approximate angles.
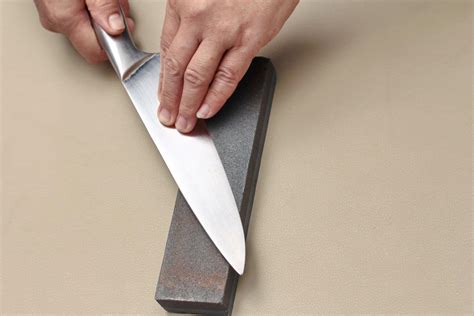
3. Coarse Sharpening (for very dull blades or nicks)
If your knife is very dull, start with a coarse grit. Place the blade flat on the stone at your chosen angle. Using light to moderate pressure, push the edge into the stone as if trying to slice a thin layer off the stone, moving from the heel to the tip of the blade in one smooth stroke. Repeat on the other side, pulling the edge towards you. Do equal strokes on both sides until a burr (a tiny lip of metal) forms along the opposite edge. This indicates you’ve reached the apex.
4. Fine Sharpening & Refining the Edge
Once a burr is established, switch to a finer grit. Reduce pressure significantly. The goal now is to remove the burr and refine the edge. Perform lighter strokes, still maintaining your angle, alternating sides after every few strokes, or even every single stroke. The burr will eventually shrink and fall off.
5. Stropping (Optional but Recommended)
If you have a ceramic rod or a piece of leather with compound, use it to remove any remaining micro-burrs and polish the edge. Angle the blade slightly higher than your sharpening angle, and only pull the blade away from the edge (never push into it, or you’ll cut your strop).
Testing Your Edge in the Field
Once you’ve sharpened, you need to test the edge. A common and safe field test is the paper test. If you can slice through a piece of paper held vertically without tearing, you’ve achieved a good working edge. Another test is to carefully feel for a ‘grab’ on your thumbnail (never your skin!). A truly sharp knife will bite into the nail, not slide off.

Safety First & Maintenance Tips
Always sharpen away from your body. Secure your sharpening tool on a stable surface or against a tree. Pay full attention and take your time. After sharpening, wipe your blade clean to remove any metal particles. Proper storage and regular light maintenance (like a quick strop on a ceramic rod) will keep your knife sharper for longer, reducing the need for heavy sharpening in the field.
Conclusion
A sharp outdoor knife is a safer and more effective tool, essential for any wilderness enthusiast. By understanding the basics of edge geometry, carrying the right portable tools, and practicing proper sharpening techniques, you can ensure your blade remains keen and ready for any task the outdoors throws your way. Master this skill, and you’ll not only enhance your outdoor capabilities but also significantly improve your safety in the wild.