


Repair torn waterproof jacket seam on trail?
The Wet Reality: When a Seam Tears on the Trail
There’s nothing quite as disheartening as the sound of ripping fabric when you’re miles into the backcountry and rain is on the forecast. A torn seam on your waterproof jacket can quickly turn a challenging adventure into a miserable, and potentially dangerous, experience. While a full, factory-grade repair often requires specialized tools and adhesives, understanding how to perform an effective emergency fix on the trail is a crucial skill for any outdoor enthusiast. This guide will walk you through the immediate steps and essential items needed to mend a compromised seam and keep the elements at bay.
Assessing the Damage and Gathering Your Emergency Kit
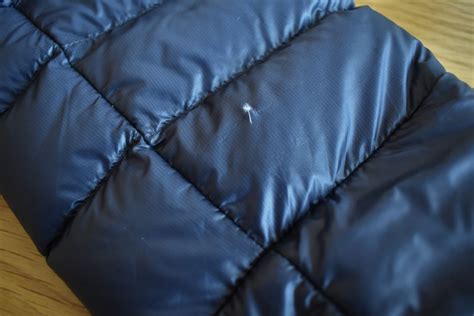
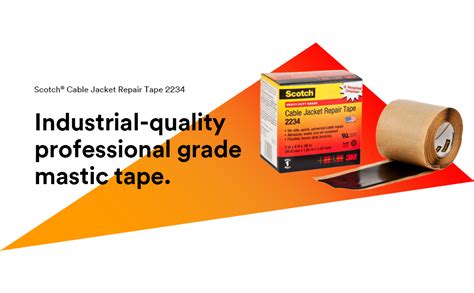
The first step in any trailside repair is a quick assessment of the damage. Is it just a small delamination, a clean tear, or a complete blowout? The severity will dictate the best approach. Ideally, your emergency kit should always contain a few key items specifically for fabric repairs. These include tenacious tape (like Gear Aid Tenacious Tape), a small tube of flexible adhesive (e.g., Seam Grip, AquaSeal), alcohol wipes for cleaning, and perhaps a small piece of spare fabric or specialized waterproof patch material. Having these readily available can make the difference between a minor inconvenience and a premature end to your trip.
Step-by-Step On-Trail Seam Repair
1. Clean and Dry the Area
Before applying any repair material, the affected area must be as clean and dry as possible. Use an alcohol wipe to remove any dirt, oil, or moisture around the torn seam. If you don’t have wipes, clean water and letting it air dry (or gently dabbing with a clean cloth) will suffice. This step is critical for ensuring good adhesion. If the jacket is wet, try to dry it over your body heat or in a sheltered, dry spot.
2. Apply Your Chosen Patch or Tape
For quick fixes, tenacious tape is a hero. Cut a piece of tape with rounded corners (to prevent peeling) that extends at least an inch beyond the tear in all directions. Peel off the backing and carefully apply it over the torn seam, pressing firmly from the center outwards to eliminate air bubbles. For more durable, though slower, repairs, apply a thin bead of seam sealant or flexible adhesive directly along the torn seam, ensuring it bonds both sides of the fabric. If you have a separate patch, apply the adhesive to the patch’s edges and center, then press it firmly over the tear.
3. Allow for Curing/Setting Time
If using tape, the bond is usually immediate. However, for liquid adhesives, curing time is essential. Consult the product’s instructions, but generally, allow several hours for the adhesive to fully cure, especially in colder or humid conditions. If possible, apply pressure during the curing process by placing a flat object over the repair or rolling a water bottle over it. This waiting period can be challenging on the trail, so plan your repair for a longer break or at camp.
Post-Repair and Prevention
Once your trailside repair is complete, continue your journey with a newfound appreciation for preparedness. Remember that an on-trail repair is often a temporary solution. Upon returning home, consider a more permanent, professional repair or re-taping if the damage is significant. To prevent future seam tears, avoid over-stuffing your jacket, be mindful of abrasive surfaces, and perform regular inspection and maintenance of your gear. Carrying a lightweight repair kit is a small burden for the peace of mind it offers, ensuring your waterproof shell remains a reliable shield against the elements.