


Prevent razor burn: best pre-shave prep for a smooth, irritation-free finish?

Understanding Razor Burn and the Power of Pre-Shave
Razor burn, characterized by redness, stinging, and bumps, is a common affliction for many who shave. It’s not just an irritation; it’s a sign that your skin’s protective barrier has been compromised and your hair follicles have been stressed. The good news? The vast majority of these uncomfortable side effects can be prevented by adopting a meticulous pre-shave routine. This preparatory phase is not a mere suggestion; it’s the foundation for a truly smooth, comfortable, and irritation-free shave.

Why Pre-Shave Prep is Your Best Defense
Before the blade even touches your skin, a proper pre-shave routine works to create an optimal shaving environment. Its primary goals are to soften the hair, hydrate the skin, and create a protective barrier. Softened hair requires less force to cut, reducing tugging and pulling, which are major contributors to irritation. Hydrated skin is more pliable and less prone to nicks and cuts, allowing the razor to glide effortlessly. By dedicating a few minutes to prepare, you significantly reduce the risk of razor burn, ingrown hairs, and general discomfort.
The Essential Steps for a Flawless Pre-Shave Routine
Step 1: Cleanse with Warm Water
Begin your pre-shave ritual by cleansing your face or the area you intend to shave with warm water. This doesn’t just clean away dirt, oil, and dead skin cells; the warmth helps to open up pores and soften the hairs, making them more receptive to your shaving cream. A gentle facial cleanser can be used to ensure a clean surface, but the key is the warm water’s softening effect.

Step 2: Gentle Exfoliation
Once or twice a week, consider incorporating a gentle exfoliant into your routine. Exfoliation helps to remove dead skin cells that can clog pores and trap hairs, leading to ingrown hairs. It also lifts the hairs away from the skin, presenting a cleaner, more accessible surface for the razor. Be careful not to over-exfoliate, as this can irritate the skin before you even begin to shave.
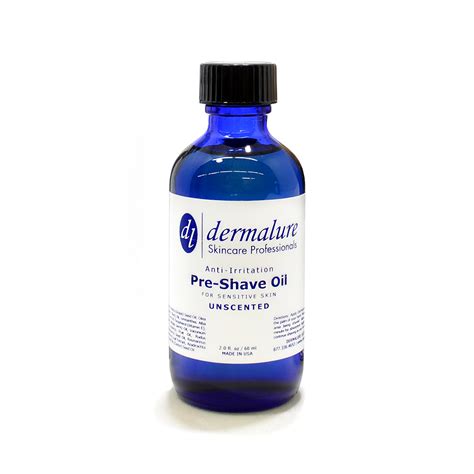
Step 3: Hydrate and Protect with Pre-Shave Oil or Cream
This is arguably the most crucial step. After cleansing, apply a small amount of pre-shave oil or cream. Pre-shave oil creates a slick barrier on the skin, reducing friction between the blade and your skin. It further softens the hair, allowing the razor to cut through it more easily without pulling. Massage it gently into the skin, allowing it to absorb for a minute or two. For an extra touch of luxury and effectiveness, a hot towel compress before applying the pre-shave product can dramatically improve hair softness.
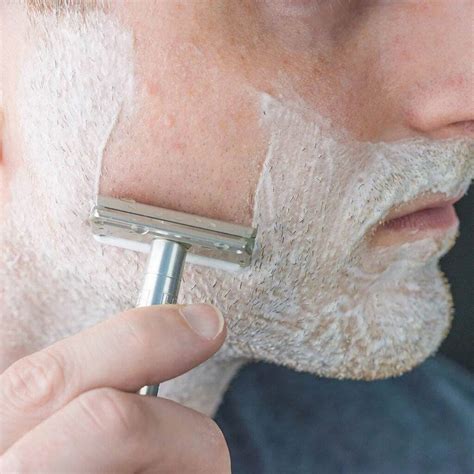
Step 4: Lather Up with Quality Shaving Cream or Soap
Don’t underestimate the power of a good lather. A high-quality shaving cream or soap creates a rich, dense foam that further softens the hair, lubricates the skin, and holds the hair upright for a closer shave. Apply it evenly over the pre-shave oil. The combination of pre-shave oil underneath and a thick lather on top provides unparalleled protection and glide.
Beyond Pre-Shave: Quick Shaving Tips for an Irritation-Free Experience
While pre-shave prep is paramount, a few shaving best practices complement it perfectly: always use a sharp, clean razor blade; shave with the grain first; and rinse your blade frequently. Following up with a soothing aftershave balm can also calm the skin and lock in moisture.

Conclusion: Invest in Your Skin
Preventing razor burn isn’t about finding a miracle product; it’s about establishing a consistent, effective pre-shave routine. By taking the time to cleanse, exfoliate, hydrate, and lubricate your skin and hair before the blade touches it, you transform shaving from a chore into a comfortable and satisfying experience. Invest in these crucial preparation steps, and you’ll be rewarded with a smooth, irritation-free finish every time.