


Optimal shave: what precise steps prevent razor burn & ingrown hairs for peak results?

Many men and women dread the aftermath of shaving – the redness, irritation, and bumps that signify razor burn and ingrown hairs. Achieving that coveted smooth, comfortable shave isn’t just about the razor; it’s a meticulous process requiring attention to detail at every stage. By understanding the causes and implementing a precise, step-by-step approach, you can transform your shaving routine into a ritual that consistently delivers peak results.
Understanding the Enemies: Razor Burn & Ingrown Hairs
Razor burn manifests as red, irritated skin, often accompanied by a stinging or burning sensation. It’s usually caused by a dull blade, too much pressure, or shaving against the grain. Ingrown hairs, on the other hand, occur when a hair strand curls back or grows sideways into the skin, leading to red, itchy bumps that can sometimes become infected. Both are preventable with the right approach.
Step 1: The All-Important Pre-Shave Preparation
The foundation of a great shave begins even before the blade touches your skin. Proper preparation softens the hair, opens pores, and creates a protective barrier.
- Warm Shower or Face Wash: The steam and warm water soften your hair follicles and open your pores, making the hair easier to cut and reducing resistance. Aim for a few minutes under warm water before shaving.
- Gentle Exfoliation: Use a mild facial scrub or a soft brush to gently exfoliate your skin 2-3 times a week (not every day, especially if you have sensitive skin). This removes dead skin cells that can trap hairs and cause ingrowns.
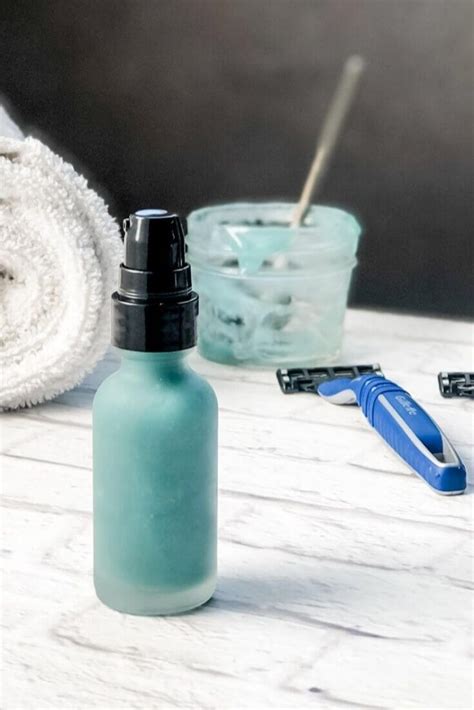
- Pre-Shave Oil: Apply a few drops of pre-shave oil. This creates an additional slick layer between your skin and the razor, providing extra lubrication and protection against irritation.

Step 2: Lathering Up for a Smooth Glide
A rich, creamy lather is crucial for a comfortable shave. It lifts the hairs, provides lubrication, and helps the blade glide effortlessly.
- Quality Shaving Cream or Soap: Invest in a good quality shaving cream, gel, or soap. Avoid aerosol cans that contain excessive chemicals and often dry out the skin. Look for ingredients like glycerin, aloe vera, and natural oils.
- Proper Lather Application: Using a shaving brush (natural or synthetic), work up a thick, warm lather in a bowl or directly on your face. Apply it evenly over the area you intend to shave, ensuring every hair is coated and stands upright.
Step 3: The Art of the Shave – Technique is Key
This is where precision makes all the difference in preventing irritation and achieving closeness.
- Use a Sharp Blade: A dull blade tugs at hairs, leading to irritation and an ineffective shave. Replace your razor blade after 5-7 uses, or sooner if you feel any tugging.
- Shave With the Grain (Initially): For most people, this means shaving downwards on the face and neck. Shaving with the grain significantly reduces the risk of razor burn and ingrown hairs. For a closer shave, you can do a second pass across the grain, but never directly against it if you’re prone to irritation.
- Light, Short Strokes: Let the razor do the work. Apply minimal pressure and use short, controlled strokes (1-2 inches). Stretching the skin taut can also help achieve a cleaner cut.
- Rinse Your Blade Frequently: Rinse your razor under warm running water after every few strokes to clear away hair and shaving cream, ensuring optimal cutting efficiency.

Step 4: Post-Shave Care for Ultimate Comfort
The steps you take immediately after shaving are just as important as the preparation.
- Cold Water Rinse: Splash your face with cold water. This helps to close pores and soothe the skin, reducing redness and irritation.
- Apply an Aftershave Balm (Alcohol-Free): Skip harsh alcohol-based aftershaves, which can dry out and irritate your skin. Opt for a soothing, alcohol-free balm or lotion containing ingredients like aloe vera, witch hazel, or chamomile to calm and moisturize.
- Moisturize: Even if you use an aftershave balm, follow up with a good quality, non-comedogenic facial moisturizer to keep your skin hydrated and protected throughout the day.
Step 5: Razor Maintenance & Hygiene
Proper care of your shaving tools is essential for consistent, irritation-free results.
- Clean Your Razor: After each shave, thoroughly rinse your razor under warm water to remove all hair and product residue. Tap it gently against the sink (don’t whack it) or use a brush to clear stubborn debris.
- Replace Blades Regularly: As mentioned, dull blades are the primary culprit for razor burn. A good rule of thumb is to replace cartridge blades every 5-7 shaves or safety razor blades after 1-3 shaves, depending on your hair type and shaving frequency.
- Store Properly: Store your razor in a dry, well-ventilated area to prevent bacterial growth and rusting.

Long-Term Strategies for Prevention
Beyond the daily ritual, a few ongoing habits can further safeguard your skin.
- Avoid Dry Shaving: Never shave without proper lubrication (shaving cream/gel/soap) and softened hair.
- Give Your Skin a Break: If you’re highly prone to irritation, consider skipping a day or two between shaves to allow your skin to recover.
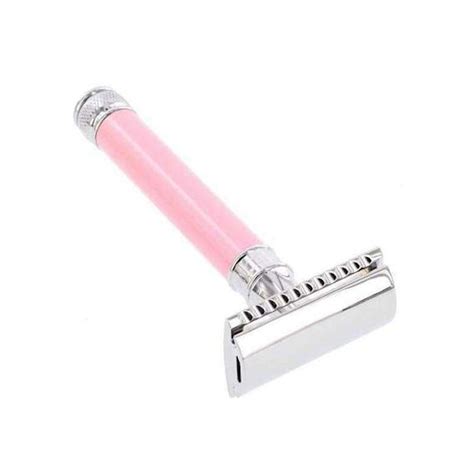
- Consider Your Razor Type: Experiment with different razor types (e.g., single-blade safety razor vs. multi-blade cartridge) to find what works best for your skin and hair type. Sometimes fewer blades can mean less irritation.

Achieving an optimal shave that leaves your skin smooth, comfortable, and free from common irritations is entirely within reach. By adopting this precise, multi-step routine – from diligent preparation to careful technique and nurturing aftercare – you transform shaving from a chore into a ritual that delivers peak results every time.