


Combat razor burn: What pre-shave ritual delivers a peak performance shave?

Razor burn is a familiar and unwelcome consequence for many who shave, leaving skin red, irritated, and often bumpy. It’s a clear sign that your skin and hair weren’t adequately prepared for the blade. The good news? Achieving a smooth, comfortable, and razor burn-free shave isn’t about expensive gadgets or harsh chemicals; it’s about mastering a strategic pre-shave ritual that primes your skin and softens your whiskers.
Understanding the “Why” Behind Pre-Shave
Before any blade touches your skin, a proper pre-shave routine serves several critical functions. It cleanses, softens, lubricates, and protects. By thoroughly preparing your face, you minimize friction, reduce tugging, and allow the razor to glide effortlessly, significantly lowering the risk of nicks, cuts, and the dreaded razor burn.
Step 1: Cleanse and Soften with Warmth
The foundation of any great shave begins with warm water. Splash your face thoroughly or, ideally, shave after a warm shower. The steam and heat open up pores and soften your beard hairs, making them much easier to cut. Follow this with a gentle facial cleanser to remove dirt, oil, and dead skin cells that can otherwise clog your razor and lead to irritation. A clean canvas is crucial.

Step 2: The Protective Barrier of Pre-Shave Oil
Often overlooked, pre-shave oil is a game-changer for sensitive skin or coarse beards. A few drops massaged into your damp face create a slick, protective layer between your skin and the shaving cream, adding an extra dimension of lubrication. This barrier helps the blade glide more smoothly, reducing drag and preventing direct contact that can cause irritation. It also further softens stubborn hairs.
Apply a small amount of pre-shave oil to your fingertips, rub them together, and gently massage it into your beard area, ensuring even coverage. Give it a minute or two to absorb before moving to the next step.

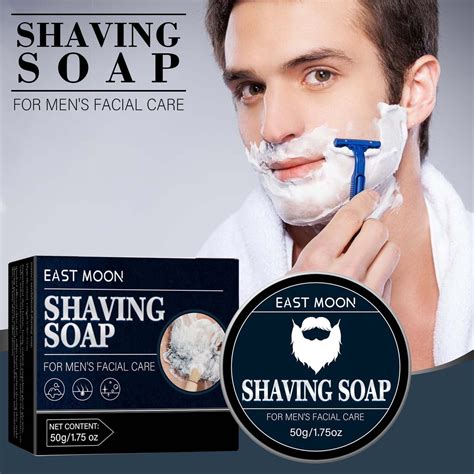
Step 3: Building the Perfect Lather
This is where quality ingredients and proper technique make a world of difference. Ditch the aerosol cans for a high-quality shaving cream or soap, and ideally, use a shaving brush. A good lather isn’t just foamy; it’s rich, dense, and moisturizing.
A well-built lather lifts the beard hairs away from the skin, holding them upright for a cleaner cut. It also acts as another layer of cushioning and lubrication for your razor. Take your time to build a thick, creamy lather, ensuring it covers all areas you intend to shave.

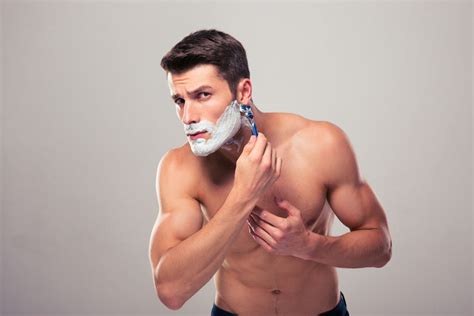
Step 4: The Shave Itself (A Quick Nod)
While this article focuses on the pre-shave, it’s worth a brief mention: even the best preparation can be undone by poor technique or a dull blade. Always use a sharp razor and shave with the grain first, especially if you’re prone to irritation. Rinse your blade frequently and use light, controlled strokes.
The Post-Shave Touch (Briefly)
After rinsing your face with cool water to close pores, follow up with an alcohol-free aftershave balm. This will soothe the skin, reduce redness, and provide essential moisture, completing the irritation-prevention cycle.
Embrace Your Peak Performance Shave
Combatting razor burn isn’t a mystery; it’s a discipline. By consistently incorporating these simple yet powerful steps into your pre-shave ritual, you’ll not only banish razor burn but also elevate your daily shave from a chore to a luxurious, comfortable experience. Your skin will thank you, and you’ll enjoy a remarkably smoother, healthier complexion every day.