


Best way to patch a torn down jacket on trail?
Emergency Down Jacket Repair on the Trail
There’s nothing quite like the disheartening feeling of hearing that dreaded rip and looking down to see feathers escaping from your beloved down jacket while deep in the backcountry. A torn down jacket isn’t just an aesthetic issue; it compromises your insulation, potentially putting your warmth and safety at risk. Fortunately, with a few common items and a bit of know-how, you can effectively patch your jacket and keep the warmth in until you’re back home.
Why Quick Patching is Crucial
The primary concern with a torn down jacket on the trail is the rapid loss of insulation. Down feathers are incredibly light and easily escape through even a small tear. The more feathers you lose, the less effective your jacket becomes at trapping warm air. Immediate patching helps to contain the remaining down, prevent the tear from worsening, and maintain your jacket’s warmth-to-weight ratio.
Essential Trail Patching Materials
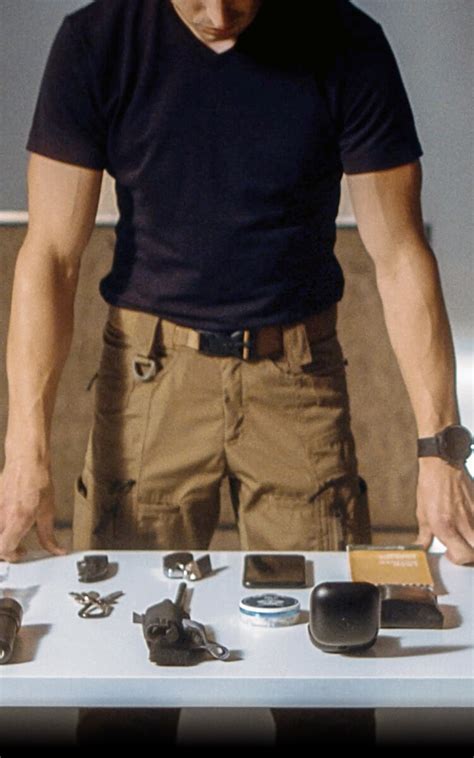
While a dedicated gear repair kit is ideal to carry, you can often improvise with items you already have. Here are the most common and effective options:
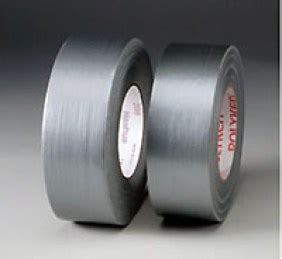
- Duct Tape: The ubiquitous outdoor fix-all. It’s strong, waterproof, and adheres well to most fabrics. However, it can leave a sticky residue and isn’t a permanent solution.
- Tenacious Tape / Gear Repair Patches: These specialized patches (like those from McNett or Gear Aid) are designed specifically for outdoor gear. They are durable, waterproof, often come in clear or matching colors, and provide a much cleaner, longer-lasting temporary fix. If you’re serious about your gear, a small roll or a few pre-cut patches are a smart addition to your first-aid kit.
- Medical Tape (e.g., Athletic Tape, Surgical Tape): In a pinch, any strong adhesive tape from your first-aid kit can work. It won’t be as durable or waterproof as duct tape or specialized patches, but it will stop feather loss.
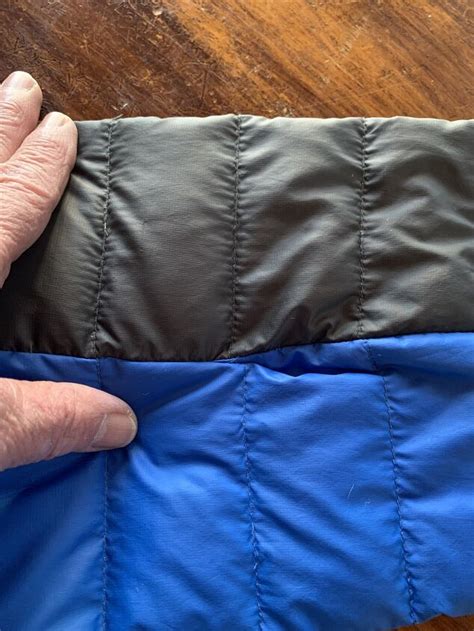
- Fabric Patches (from a repair kit or spare fabric): If you carry a small piece of ripstop nylon or another similar fabric, you can combine it with any strong tape for a more robust patch.
Step-by-Step Trail Patching Guide
Regardless of the material you’re using, the patching process follows a few simple steps:
- Assess the Damage: Gently pull the fabric around the tear to see its full extent. Push any escaping feathers back into the jacket as best you can.
- Clean the Area: This is crucial for good adhesion. Wipe away any dirt, dust, or moisture from around the tear. Use an alcohol wipe from your first-aid kit if available, and allow it to dry completely. The cleaner the surface, the better the patch will stick.
- Cut the Patch (if necessary): If using duct tape or a roll of tenacious tape, cut a piece that’s significantly larger than the tear, ideally overlapping by at least an inch on all sides. Round the corners of your patch to prevent them from peeling up prematurely.
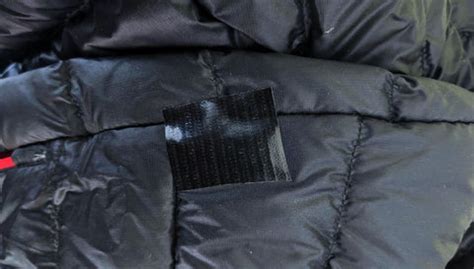
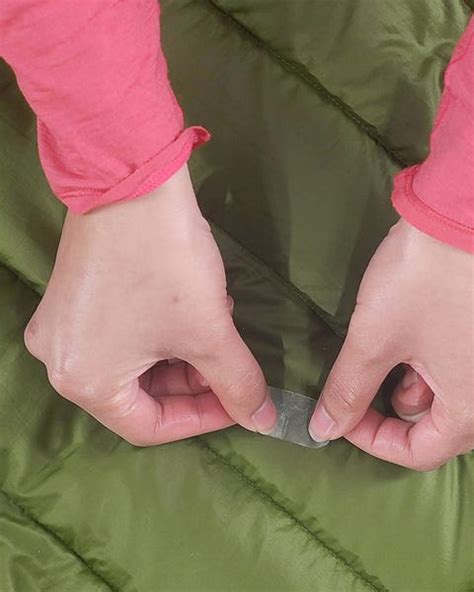
- Apply the Patch: Carefully center the patch over the tear. If using a pre-cut patch, peel off the backing. If using tape, try to avoid touching the adhesive side too much.
- Press Firmly: Once the patch is in place, rub it down firmly with your fingers or the back of a spoon/knife for several minutes. Apply pressure from the center outwards to push out any air bubbles and ensure maximum adhesion. The warmth from your hand can also help activate the adhesive.
- Inspect: Ensure the patch is secure and no feathers are still escaping. If the tear is very large or oddly shaped, consider applying a patch on both the inside and outside of the jacket for extra security.
Tips for Success and Prevention
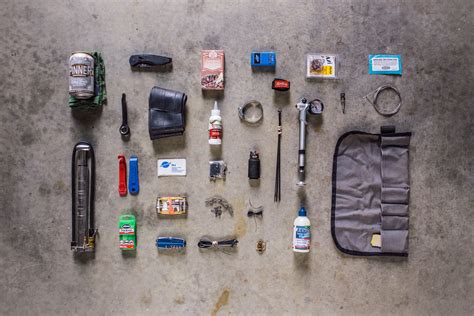
- Carry a Small Repair Kit: A small plastic baggie with a few pre-cut tenacious tape patches and an alcohol wipe takes up almost no space and can save you a lot of hassle.
- Mind Your Surroundings: Be mindful of sharp branches, rocks, or gear buckles that can snag your jacket.
- Don’t Overstuff: Avoid stuffing your down jacket into an overly tight pack, which can stress the fabric and seams.
- Long-Term Repair: Remember that trail patches are typically temporary. Once you’re home, consider a more permanent repair using a sewing kit designed for technical fabrics or sending it to a professional gear repair service.
Conclusion
A torn down jacket on the trail is an inconvenience, not a disaster. By being prepared with the right materials and knowing these simple patching techniques, you can quickly mitigate the damage, maintain your warmth, and continue enjoying your adventure without major disruption. A little preparedness goes a long way in ensuring your gear supports you, no matter what challenges the trail presents.