


Proper deadlift form for lower back safety?
Unlock Your Potential: The Deadlift and Lower Back Safety
The deadlift is often hailed as the king of all exercises, a full-body movement that builds incredible strength, muscle, and power. However, its immense benefits come with a caveat: improper form can place significant stress on the lower back, leading to pain or injury. Learning and consistently applying correct deadlift technique is not just about lifting more weight; it’s fundamentally about protecting your spine and ensuring a long, healthy lifting journey.
This guide will break down the essential elements of a safe and effective deadlift, focusing specifically on how to maintain lower back integrity throughout the movement.
Core Principles for a Safe Deadlift
Before diving into the step-by-step, understand these foundational concepts:
- Spinal Neutrality: Your spine should remain in its natural, slightly S-shaped curve from start to finish. Avoid rounding your lower back (flexion) or over-extending it (hyperextension).
- Bracing and Core Engagement: Imagine preparing for a punch to the gut. Take a deep breath into your belly, not your chest, and brace your core muscles tightly. This creates intra-abdominal pressure, stabilizing your spine.
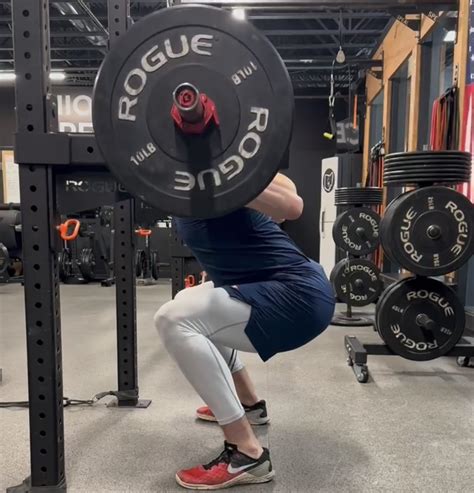
- Hip Hinge Dominance: The deadlift is primarily a hip-hinge movement, not a squat. The primary movement should come from pushing your hips back and then driving them forward, rather than bending your knees excessively.
- Lat Engagement: “Pull the slack out of the bar” by engaging your lats. Imagine tucking your shoulder blades into your back pockets. This pulls the bar closer to your body and creates a stable upper back, preventing rounding.
Step-by-Step Guide to Proper Deadlift Form
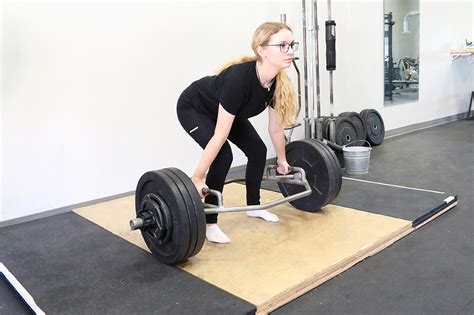
1. The Setup
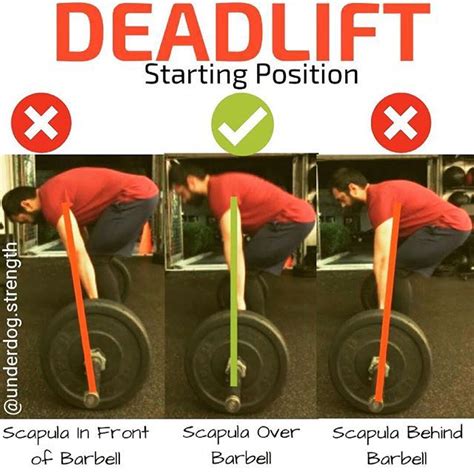
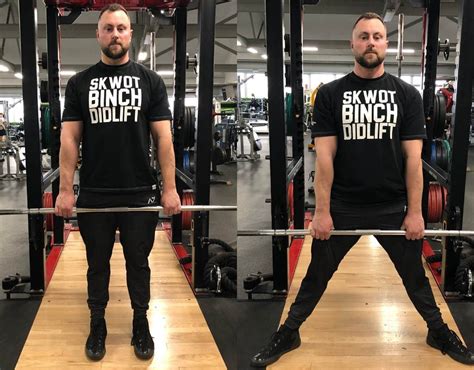
Your starting position is paramount for a safe lift. Stand with your feet hip to shoulder-width apart, toes pointing slightly out. The barbell should be positioned over the middle of your feet, about an inch or two from your shins.
Bend at your hips and knees to grasp the bar. Your grip can be pronated (overhand), mixed (one over, one under), or hook grip. Ensure your hands are just outside your shins, narrow enough to allow your arms to hang straight down. Once gripped, your shoulders should be slightly in front of the bar.
2. The Pre-Lift Checklist (The “Slack Pull”)
Before initiating the pull, perform these checks:
- Shins to Bar: Bring your shins forward until they lightly touch the bar without moving the bar itself.
- Chest Up: Lift your chest, engaging your upper back. This helps maintain a neutral spine.
- Lats Engaged: Pull the slack out of the bar. Imagine trying to bend the bar in half. This creates tension and stabilizes your upper body.
- Core Braced: Take a deep breath into your diaphragm and brace your core.
- Hips Down (Slightly): Your hips should be lower than your shoulders, but not so low that it turns into a full squat. Find the sweet spot where your hamstrings feel loaded.
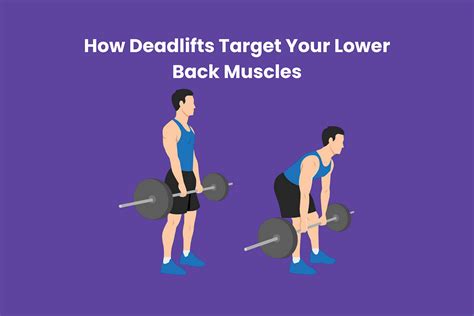
3. The Pull
Initiate the lift by driving through your heels and pushing the floor away. Think of it as pushing the earth down, not pulling the bar up. Keep the bar as close to your body as possible, almost scraping your shins and thighs. As the bar leaves the floor, your hips and shoulders should rise at roughly the same rate.
Maintain your neutral spine and continue to brace your core. The movement should be powerful and controlled, with the hips driving forward as the bar passes your knees.

4. The Lockout
At the top of the lift, stand tall. Squeeze your glutes and push your hips fully forward. Your shoulders should be pulled back, and your core still braced. Do NOT hyperextend your lower back by leaning excessively backward. Your body should form a straight line from your head to your heels.
5. The Descent
Lowering the weight with control is just as important as lifting it. Reverse the movement by initiating with a hip hinge – push your hips back first, allowing the bar to descend along your thighs. Once the bar passes your knees, allow your knees to bend to bring the bar back to the starting position. Maintain your neutral spine and controlled descent throughout.
Common Mistakes and How to Avoid Them
- Rounding the Back: The most dangerous mistake. Often caused by weak core, poor bracing, or trying to lift too much weight. Focus on core bracing, lat engagement, and keeping your chest up.
- Squatting the Deadlift: Starting with hips too low turns it into a squat, shifting load to the quads and potentially off the hamstrings and glutes, which are key for a strong hip hinge.
- Jerking the Weight: Pulling too fast and aggressively without tension can cause the spine to absorb the shock. Always pull the slack out first.
- Hyperextending at the Top: Leaning back excessively at lockout puts unnecessary stress on the lumbar spine. Stand tall and squeeze glutes.
- Letting the Bar Drift Away: If the bar moves away from your body, the lever arm increases, making the lift harder and increasing stress on the back. Keep it close!

Conclusion
The deadlift is an incredibly effective exercise that, when performed correctly, can transform your strength and physique. Prioritizing proper form, especially for lower back safety, is non-negotiable. Start with lighter weights to ingrain the movement pattern, film yourself to identify flaws, and don’t hesitate to seek guidance from a qualified coach. Your dedication to proper technique will not only prevent injury but also unlock your full potential in this powerful lift.