


How to prevent razor burn on neck?
Tired of Red Bumps? Say Goodbye to Neck Razor Burn!
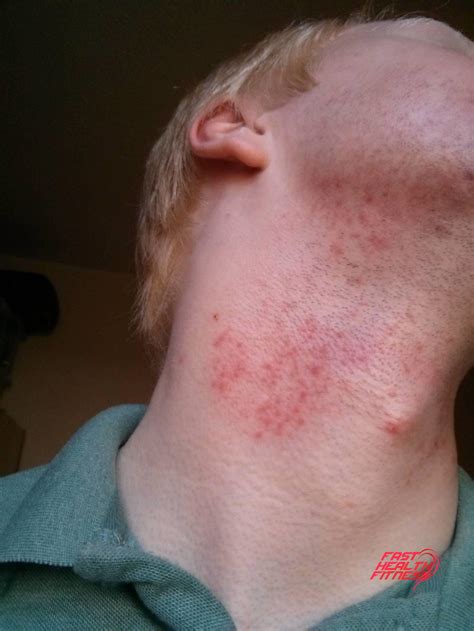
Razor burn on the neck is a common, often painful, and unsightly problem for many who shave. Unlike other areas of the face, the neck’s skin is more sensitive, the hair grows in multiple directions, and the angles are trickier, making it a prime target for irritation, redness, and ingrown hairs. But don’t despair! With the right approach, tools, and aftercare, you can achieve a smooth, comfortable, and burn-free neck shave.
Understanding the Enemy: What is Razor Burn?
Razor burn, also known as pseudofolliculitis barbae or shaving rash, occurs when hair follicles become irritated during shaving. This irritation can be caused by dull blades, shaving against the grain, dry shaving, or applying too much pressure. The result is often red bumps, itching, tenderness, and sometimes even painful pustules. The neck is particularly susceptible due to its delicate skin and the complex growth patterns of its hair.
Step 1: Impeccable Pre-Shave Preparation
The foundation of a good shave begins before the blade even touches your skin. Proper preparation softens the hair, opens pores, and creates a protective barrier, reducing friction and irritation.
- Warm Shower or Hot Towel: Shave after or during a warm shower. The steam and warm water soften your beard hair, making it easier to cut. If a shower isn’t feasible, apply a hot, damp towel to your neck for a few minutes.
- Gentle Exfoliation: Lightly exfoliate your neck a few times a week (but not immediately before every shave, especially if you have sensitive skin). This helps remove dead skin cells and lift any ingrown hairs, ensuring a smoother path for the razor.
- Pre-Shave Oil: A good pre-shave oil creates an additional layer of lubrication between your skin and the razor, helping the blade glide more smoothly and reducing drag.

Step 2: Master the Shaving Technique
Your technique is paramount to preventing razor burn, especially on the sensitive neck area. Slow down and be deliberate.
- Map Your Hair Growth: This is crucial for the neck where hair often grows in various directions. Gently rub your hand across your neck; the direction with the least resistance is with the grain. Always shave *with* the grain on your first pass, especially on the neck. Shaving against the grain pulls the hair more aggressively and can lead to irritation and ingrown hairs.
- Use a Sharp Blade: A dull blade tugs and pulls at the hair, causing irritation. Change your razor blade every 5-7 shaves, or at the first sign of discomfort.
- Quality Shaving Cream or Gel: Use a rich, lubricating shaving cream or gel, applied generously. Let it sit on your skin for a minute or two to further soften the hair before you start shaving. Avoid aerosol foams that can dry out the skin.
- Light Pressure: Let the razor do the work. Pressing too hard is a primary cause of razor burn and cuts.
- Short, Controlled Strokes: Use short (about 1-2 inches), deliberate strokes. Rinse your blade frequently under warm water to clear away hair and shaving cream.

Step 3: Crucial Post-Shave Care
What you do immediately after shaving is just as important as the shave itself.
- Rinse with Cold Water: After shaving, rinse your neck thoroughly with cold water. This helps close pores and soothe the skin.
- Alcohol-Free Aftershave Balm: Skip alcohol-based aftershaves, which can dry and irritate sensitive neck skin. Opt for an alcohol-free balm or lotion containing soothing ingredients like aloe vera, witch hazel, or chamomile. Pat it gently onto your neck.
- Moisturize: Follow up with a good quality, non-comedogenic moisturizer to keep your skin hydrated and supple, further reducing irritation.

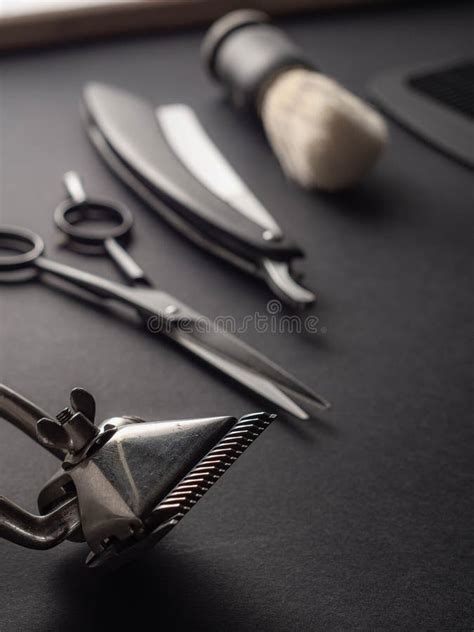
Step 4: Tools of the Trade
Choosing the right razor and products can make a significant difference.
- Razor Choice:
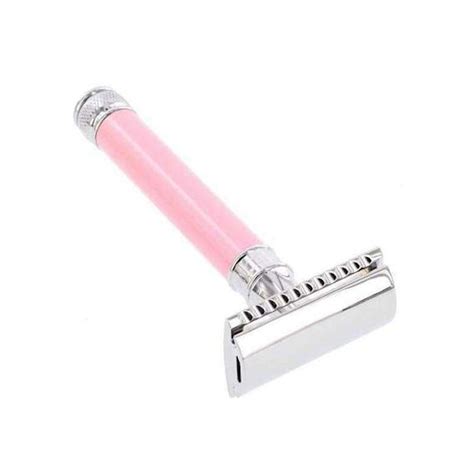
- Safety Razors (DE Razors): Many find single-blade safety razors superior for preventing razor burn and ingrown hairs. They offer a very close shave with less irritation, as only one blade passes over the skin.
- Cartridge Razors: If using a cartridge razor, opt for one with fewer blades (2-3 instead of 5-6). More blades mean more passes over the skin, increasing irritation.
- Electric Razors: Some individuals with very sensitive skin find electric razors cause less irritation, as they don’t shave as closely. Experiment with both rotary and foil types to see what works best for your skin.
- Shaving Brush: Using a good quality shaving brush helps to lift the hairs, create a rich lather, and gently exfoliate the skin, preparing it perfectly for the blade.

Additional Tips for Sensitive Necks
- Shave Less Frequently: If possible, give your skin a break by not shaving every day.
- Clean Your Tools: Always rinse your razor thoroughly after each use and allow it to air dry to prevent bacteria buildup.
- Avoid Tight Collars: Immediately after shaving, avoid tight shirts or collars that can rub against freshly shaven skin, exacerbating irritation.
- Stay Hydrated: Drinking plenty of water keeps your skin healthy and more resilient.
Conclusion
Preventing razor burn on your neck requires a combination of thoughtful preparation, precise technique, proper aftercare, and the right tools. By incorporating these steps into your grooming routine, you can transform your shaving experience from a dreaded chore into a smooth, comfortable ritual, leaving you with a perfectly groomed, irritation-free neck. Be patient, experiment to find what works best for your skin, and enjoy the confidence that comes with a clean shave.