


Master shave technique for zero razor burn & peak daily focus?

For many, shaving is a daily necessity, a quick chore to tackle before diving into the day’s demands. But what if this routine could be transformed from a rushed obligation into a mindful ritual? A perfected shave not only leaves your skin smooth and free from irritation but can also serve as a powerful catalyst for mental clarity and focus, setting a positive tone for the hours ahead.
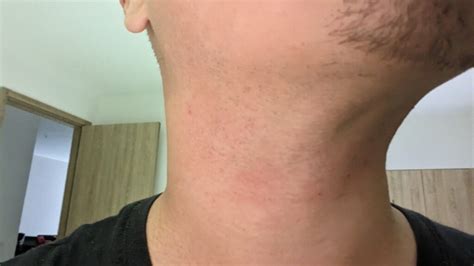
Razor burn, nicks, and ingrown hairs aren’t just minor annoyances; they’re signs that your technique needs an overhaul. Beyond the discomfort, a poor shave can subtly undermine your confidence and distract you throughout the day. This guide will walk you through a master shaving technique designed to eliminate these common issues, ensuring a consistently comfortable experience and helping you cultivate a sharper, more focused mindset.
Why Your Shave Matters More Than You Think
A great shave is more than just aesthetics. It’s about skin health, comfort, and an often-overlooked psychological boost. Starting your day with a smooth, irritation-free face boosts confidence, reduces self-consciousness, and signals to your mind that you are prepared and ready. It’s a foundational act of self-care that can ripple through your entire day, enhancing your perception of readiness and professionalism.
![[Event + Review]: NIVEA Radiant & Smooth Body Serum - Stevie Wong](/images/aHR0cHM6Ly90czQubW0uYmluZy5uZXQvdGg/aWQ9T0lQLnhucGhRc1Vwb3JRTlVoNXgtWkxvREFIYUhhJnBpZD0xNS4x.webp)
The Essential Pre-Shave Ritual
Preparation is the bedrock of a great shave. Skimping on these initial steps is a direct invitation for razor burn and discomfort.
Step 1: Warm Water Prep
Begin by splashing your face with warm water or, even better, shave after a warm shower. The warm water and steam help to open your pores and soften your whiskers, making them much easier to cut. This crucial step reduces the effort required from your razor, minimizing tugging and pulling.
Step 2: Pre-Shave Oil Application
Apply a few drops of high-quality pre-shave oil to your damp face. Gently massage it into your beard area. Pre-shave oil creates a protective barrier between your skin and the razor blade, allowing for a smoother glide and reducing friction. This layer is your first line of defense against razor burn and irritation.

Mastering the Blade: A Step-by-Step Guide
With your skin prepped, it’s time to focus on the shaving technique itself.
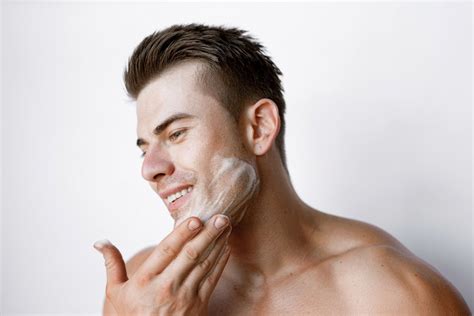
Step 3: Lather Up Properly
Apply a rich, creamy lather using a quality shaving cream or soap and a good brush. Work the lather into your beard in circular motions for at least a minute. This lifts the whiskers, further softens them, and ensures even coverage, allowing the blade to glide effortlessly.
Step 4: The Direction of Growth
Always make your first pass shaving with the grain (in the direction your hair grows). This is the gentlest way to remove hair and drastically reduces the risk of razor burn and ingrown hairs. Pay attention to the varying growth patterns on different parts of your face.
Step 5: Short, Light Strokes
Use short (1-2 inch) and light strokes. Do not press down on the razor; let the weight of the blade do the work. Excessive pressure is a primary cause of irritation and nicks. Rinse your razor frequently under warm water to clear away hair and lather buildup.
Step 6: Rinsing the Blade
After every couple of strokes, rinse your razor under warm water. A clean blade cuts more effectively and reduces drag, preventing irritation. This small habit makes a big difference in the quality of your shave.
Step 7: The Second Pass (Optional)
If you desire a closer shave, re-lather your face and make a second pass. For maximum comfort and minimal irritation, shave across the grain (perpendicular to hair growth) or, if your skin can handle it, against the grain. Be extra gentle during this pass, especially if shaving against the grain.
Post-Shave Perfection & Skin Care
The job isn’t done once the whiskers are gone. Post-shave care is vital for soothing, protecting, and nourishing your skin.
Step 8: Cold Water Rinse
Rinse your face thoroughly with cold water. This helps to close your pores, tighten the skin, and soothe any potential irritation. Pat your face dry with a clean, soft towel – do not rub.
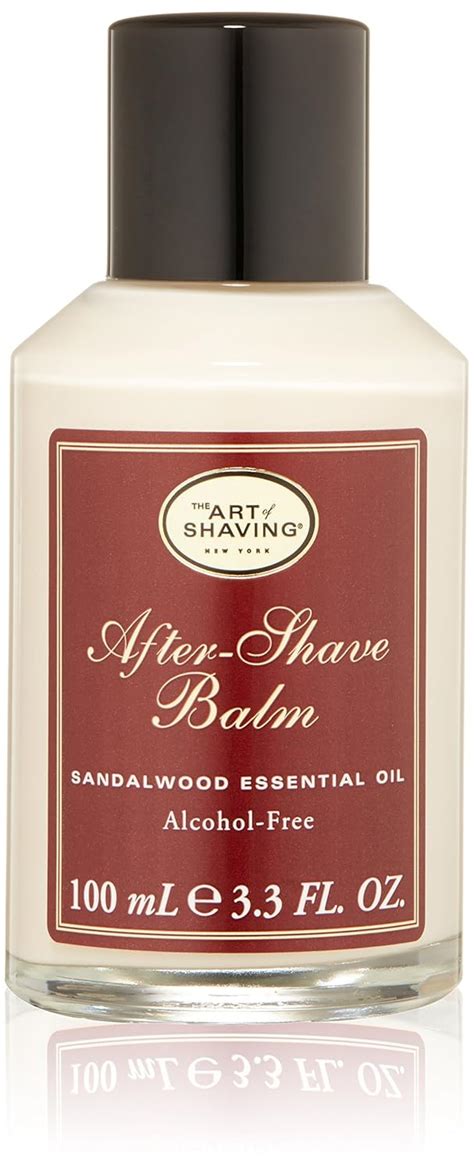
Step 9: Aftershave Balm/Moisturizer
Apply an alcohol-free aftershave balm or moisturizer. Alcohol-based aftershaves can dry out and irritate the skin. A good balm will hydrate, calm, and protect your freshly shaven face, preventing redness and dryness.
Step 10: Clean Your Tools
Rinse your razor thoroughly and allow it to air dry. Clean your brush and store it properly. Maintaining clean tools prevents bacterial growth and extends their lifespan, ensuring a hygienic shave every time.
Shave Your Way to Daily Focus
The act of mastering your shave is inherently mindful. Each step, from warm water to balm, requires attention and presence. This deliberate, step-by-step process forces you to slow down, breathe, and focus on the task at hand. This miniature meditation at the start of your day sharpens your mind, calms your nerves, and trains your brain to approach tasks with precision and care.
By transforming your shave into a ritual of focus and self-care, you don’t just achieve a perfectly smooth face; you also cultivate a powerful mental state. You teach yourself discipline, patience, and attention to detail—qualities that seamlessly transfer to your professional and personal life. It’s a daily practice in intentional living, building momentum for a day filled with clarity and productivity.

Conclusion: Elevate Your Mornings
Adopting a master shaving technique is more than just about avoiding razor burn; it’s about elevating your entire morning routine. By embracing patience, precision, and proper care, you transform a mundane task into a powerful ritual that benefits both your skin and your mind. Commit to these steps, and you’ll not only enjoy consistently smooth, irritation-free shaves but also discover a newfound sense of focus and preparedness that carries you confidently through your day.