


Optimal pre-shave routine to eliminate razor burn for a sharp, confident look?

Unlock a Superior Shave: The Ultimate Pre-Shave Ritual
Razor burn, ingrown hairs, and general irritation are common foes for anyone who shaves. While the act of shaving itself plays a crucial role, the preparation you undertake beforehand is equally, if not more, critical in achieving a close, comfortable shave without the unwelcome redness and discomfort. An optimal pre-shave routine not only softens your beard and protects your skin but also transforms a chore into a luxurious experience, setting the stage for that sharp, confident look.

Step 1: The Warmth of Preparation – Cleanse and Hydrate
The first and most fundamental step is to prepare your skin and whiskers with warmth and moisture. A warm environment helps to open up pores and soften the hair follicles, making them much easier to cut.
a. Warm Shower or Hot Towel:
The best way to kickstart your pre-shave routine is by shaving after a warm shower. The steam and warm water naturally hydrate your skin and beard. If a shower isn’t feasible, apply a hot, damp towel to your face for a few minutes. This replicates the effect, softening the whiskers and making them more pliable.
b. Gentle Facial Cleanser:
Following the warmth, cleanse your face with a mild, pH-balanced facial cleanser. This removes dirt, oil, and dead skin cells that can clog pores and dull your razor blade. A clean canvas ensures a smoother glide and reduces the risk of irritation. Pat your face gently with a clean towel, leaving it slightly damp.

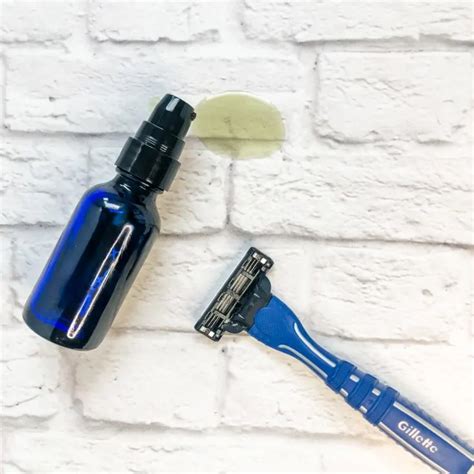
Step 2: The Protective Barrier – Pre-Shave Oil Application
Often overlooked, pre-shave oil is a game-changer, especially for those prone to razor burn or with sensitive skin. This oil creates a protective layer between your skin and the razor blade, allowing the blade to glide more smoothly and reducing friction.
How to Apply Pre-Shave Oil:
While your face is still damp, dispense a few drops of high-quality pre-shave oil into your palms. Gently massage the oil into your beard area, ensuring even coverage. Allow it to sit for 30-60 seconds to fully penetrate the whiskers and skin. This step is key to minimizing tugging and pulling, leading to a much more comfortable shave.
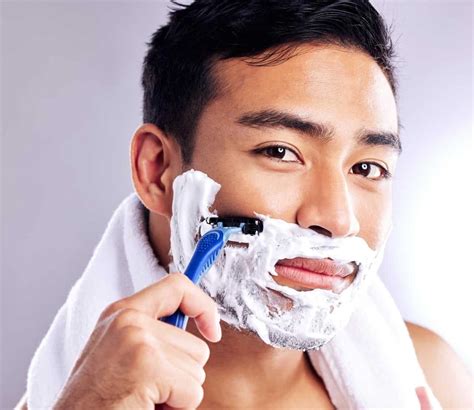
Step 3: The Rich Lather – Shaving Cream or Soap
A thick, rich lather is paramount for a comfortable shave. It further softens the beard, lifts the hairs, and provides another layer of lubrication and protection.
Building the Perfect Lather:
Using a good quality shaving cream or soap, apply it over the pre-shave oil. For optimal results, use a shaving brush. Dip the brush in warm water, shake off excess, and then swirl it on the shaving soap or cream to build a rich, creamy lather. Apply this lather to your face in circular motions, ensuring every hair is coated and lifted. The brush also gently exfoliates and creates a warm, dense cushion for the razor.
Step 4: The Mindful Shave and Aftercare
While this article focuses on the ‘pre’ aspect, it’s worth a quick note that the proper pre-shave routine significantly enhances the shave itself. Use a sharp razor, shave with the grain, and avoid excessive pressure. After shaving, rinse your face with cool water to close pores, gently pat dry, and apply an alcohol-free aftershave balm to soothe and moisturize your skin.
By diligently following these pre-shave steps, you’re not just preparing for a shave; you’re investing in healthier skin and an experience that eliminates razor burn. The result? A remarkably smooth, irritation-free shave that leaves you looking and feeling sharp and confident every single time.