


Optimal pre-shave ritual for razor burn-free skin & a peak-performance shave?

Unlock the Secret to a Superior Shave
For many, shaving is a daily chore, often fraught with irritation, nicks, and the dreaded razor burn. However, transforming your shave from a necessary evil into a moment of mindful self-care, yielding smooth, comfortable, and irritation-free results, hinges almost entirely on one crucial element: your pre-shave ritual.
An optimal pre-shave routine isn’t just about applying a product; it’s a deliberate sequence of steps designed to prepare your skin and beard for the razor, ensuring peak performance and preventing common shaving woes. Let’s delve into the ultimate ritual.
Step 1: Cleanse and Gently Exfoliate
The foundation of any good shave begins with clean skin. Throughout the day (and night), your face accumulates dirt, oil, and dead skin cells. These can clog pores, dull your razor, and contribute to post-shave irritation. Start with a gentle facial cleanser, preferably one that doesn’t strip your skin of its natural oils. Work it into a lather and massage it onto your face, paying attention to the areas you’ll be shaving.
For an even deeper clean and to help lift ingrown hairs, consider a mild facial scrub 2-3 times a week. Exfoliation removes the uppermost layer of dead skin cells, allowing for a closer shave and reducing the risk of razor bumps. Rinse thoroughly with warm water.

Step 2: Warm Water & Steam Application (The Hot Towel Method)
This is perhaps the most critical step in softening your beard hair and opening up your pores. Warm water causes hair to expand and become pliable, making it easier for the razor to cut through without tugging or pulling. The easiest way to achieve this is to shave immediately after a hot shower. The steam and warm water will have already done much of the work.
Alternatively, replicate the barbershop experience with a hot towel. Soak a small towel in hot water (ensure it’s not scalding), wring out the excess, and apply it to your face for 2-3 minutes. Relax as the heat penetrates your skin, softening the hairs and preparing them for the next step. This also helps relax the facial muscles, allowing for a smoother glide.

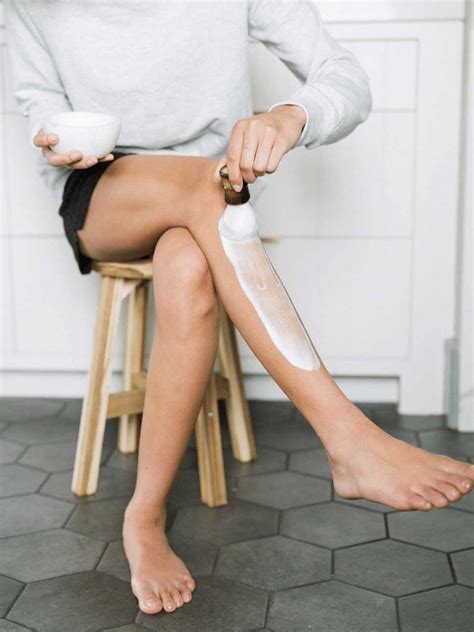
Step 3: Apply Pre-Shave Oil or Cream
Often overlooked, pre-shave oil or cream acts as a vital protective barrier between your skin and the razor blade. It adds an extra layer of lubrication, allowing the razor to glide effortlessly across your skin, significantly reducing friction and preventing razor burn. It also helps to further soften the beard hairs and ensure they stand upright for an easier cut.
Dispense a few drops of pre-shave oil or a small amount of cream into your palm, rub your hands together, and then gently massage it into your beard area. Allow it to soak in for a minute or two. Don’t rinse it off; it forms the base for your shaving lather.

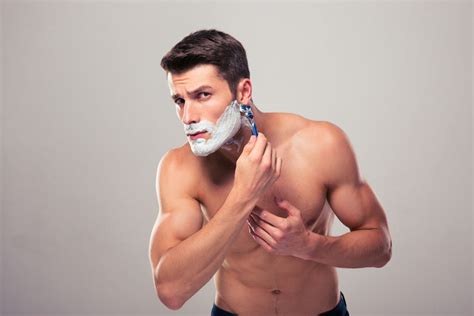
Step 4: Build a Rich Lather with Quality Shaving Cream or Soap
While technically part of the pre-shave, the application of your main shaving lubricant is the final preparatory step before the blade touches your skin. A high-quality shaving cream or soap, especially applied with a badger or synthetic brush, is essential. The brush helps to create a rich, dense lather that lifts the beard hairs, coats them thoroughly, and further exfoliates the skin.
Apply the lather generously over the pre-shave oil, working it into your beard in circular motions. Ensure full coverage and a thick, creamy consistency. This lather provides cushioning, additional lubrication, and helps the razor maintain its edge longer by keeping the blade clean.
Reap the Rewards: A Shave Beyond Compare
By diligently following these steps, you’re not just shaving; you’re engaging in a ritual that respects your skin and optimizes your shaving tool. The result? A remarkably close shave with minimal effort, zero irritation, no razor burn, and skin that feels soft, supple, and healthy. Invest the time in your pre-shave ritual, and your skin (and your razor) will thank you.